Showing posts with label gesso. Show all posts

Tuesday, April 23, 2024

Using up washi tape


I have a lot of washi tape (like who doesn't) 
and I really don't use it a lot. 
I see others that use it and it looooks sooo good.
Mine not so much.
So I have a lot of washi and blank notebook.
Well we can't have a blank, boring looking book cover
so...........................
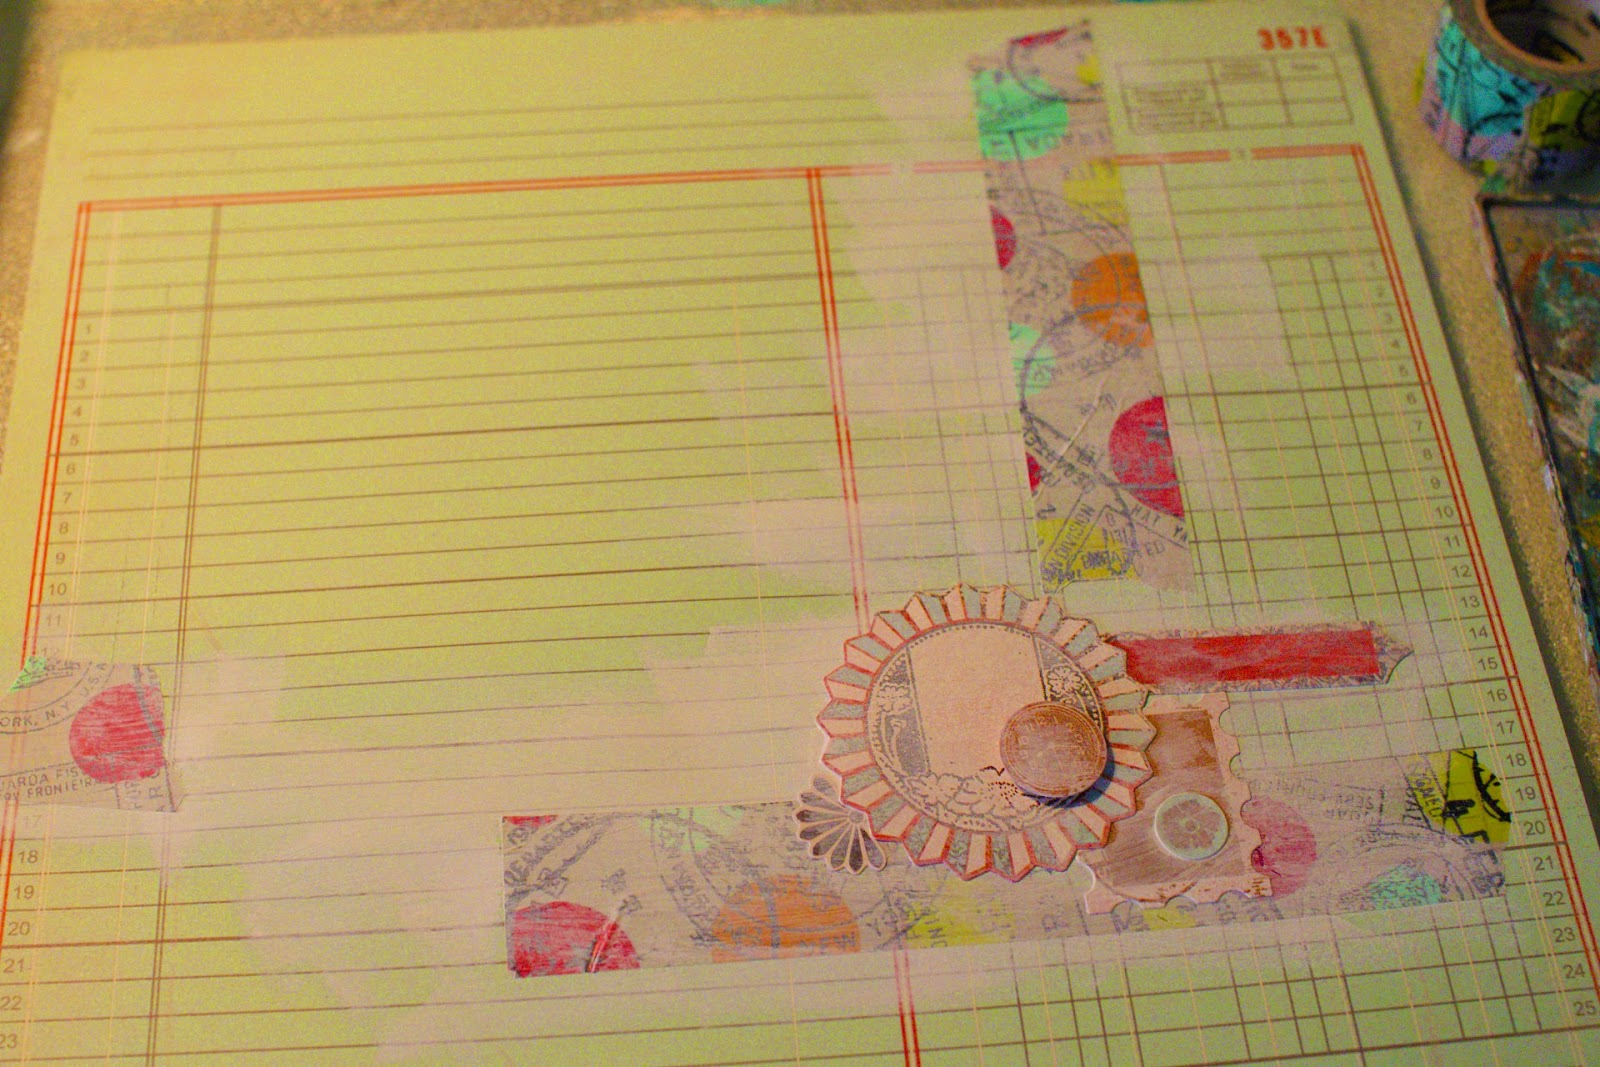
I just slapped washi everywhere 
willy nilly.
Some had no adhesive so modge podge to the rescue.

And then.....I decided that maybe some gesso
is required to tone it down.

And then I thought maybe stamps
would work in another willy nilly kind of way.
Too much???
I kind of like it.
And why not.


Monday, February 21, 2022

A stamped, inked, crayoned, stenciled Album Cover

Yesss, another one.
I can't resist.
This was stamped with no rhyme no reason
except I liked them.
Similar to the last one, I glued 2 thin chipboard
together 5.5x9.5.
Then with some rustic wilderness oxide and stain, 
and kitch flamingo and picked raspberry oxides
using the slide and scoop method
I managed to get it all over the gesso.


Because I didn't want to be lame 
and do the same thing inside 
I decided that stamping a glass jar
and filling it with flowers would work.
Using Tim Holtz crayons I sort of watercolored
the flowers and jar
and then swished some vintage photo
all over - to antique it.


The second page was a new stencil for the winged
creatures and TH dots. 
Using the spray and splat method.
Faded jeans and picked raspberry.


The guts are comprised of scraps and leftovers from
other albums.

I love to use paper bags in my albums.
They just fun to tuck a bunch of really cool stuff in.

I want to have a couple of different albums going on.
You know I have the "travel" album that chronicles are
exciting life on the road, but I also
other photos: like mostly the grandkids, or any photo
that I feel like scrapping using
 a different approach.
Keeps things interesting.....


Tuesday, September 20, 2016

Scrappin' my scraps

Since I've been home I've been binging on scrapbooking videos
and got this great idea from Tori Bissell and
her thing is scrap your scraps.
So she did one that looked like an old ledger paper
and invoices collage she saw.

Mine turned out more calico. 
I decided to use black cardstock as a backing
 mostly because everyone
else is using white.
Quite the renegade I am.
It also made everything pop!
I have a ton of papers in my scrap box and I'll do
this again. I randomly (sortof) picked out papers and
slapped them down.
 I didn't think of photographing it as I did
it until it was over. 
I also used bits of cutout papers too.
Once I adhered it all I gessoed it all -to make
it a bit cohesive and tone down the bright.
 Did a bit of random stamping -
 Also did the packaging technique 
to bring all the wild colors together.
Added a doily to ground the photos.
The photos are a hoot - me and Amelia doing snapchat.
LOL.
I really love how it turned out-very fun and funky.
Check out Tori - she's a very lovely lady with some great ideas.

Oh and the edges were very um....edgy which made
me crazy so I cut out the middle
of 8.5x11 black cardstock and used the edge and made those
edges quite lovely.

Monday, June 13, 2016

Artful pages

Thankfully art is alive and well in schools and
my grandkids are quite talented artists.
So it was really fun to document 
and today I have created two layouts
for your blogreading delight.
So how about that adorable pup.
He's a very old Technique Tuesday stamp.
 Again I used most of my Studio Calico
and Creative Cafe stamps around this page 
 and
because that wasn't busy enough
I threw in the Tim Holtz stencil, using yellow paint
with modeling paste.
 Added a few do-dads namely my homemade enamel dots, arrows and a heart sticker and called it a day.
 Kraft paper is the base cut down to 8x8
And honestly all 3 artists made some mighty fine art
AND I WANT THEIR ART FOR SCRAPBOOK PAGES.
How cool would that be....
 I didn't want to be a copy cat on the second page
so I lifted once again a prize ribbon from Soaphouse Mama
- she does them all the time and what better
embellie could there be but that.
And I cut the circles myself - mostly because I didn't have 
punches that nested that closely and I'm normally not that brave LOL.
 The little bird is from some no-name embellishments
I picked up at Michael's and
those stars are from Studio Calico kit and finally
used them babies all up.
Yay!!!
Because it was a wild background that I keyed off
of from the artwork I gessoed where the photo and do-dads are
and found I liked it just fine and left it there.
The heart arrow is wooden - and stuck out like a sore thumb
in its pure form so I smooshed some watercolors
around to match the stars and wa-la.
Worked out well.

Tuesday, February 9, 2016

Really little mixed media

I found this paper in with a stash of cardstock.
I'm assuming its Studio Calico.
As then, and now,  I wondered what I was going to do with it
which is probably why it was stashed far far away.
 Well as I mentioned before I took Ashli Oliver (aka Soaphousemamas)
Embellish DIY class and felt the need to channel.
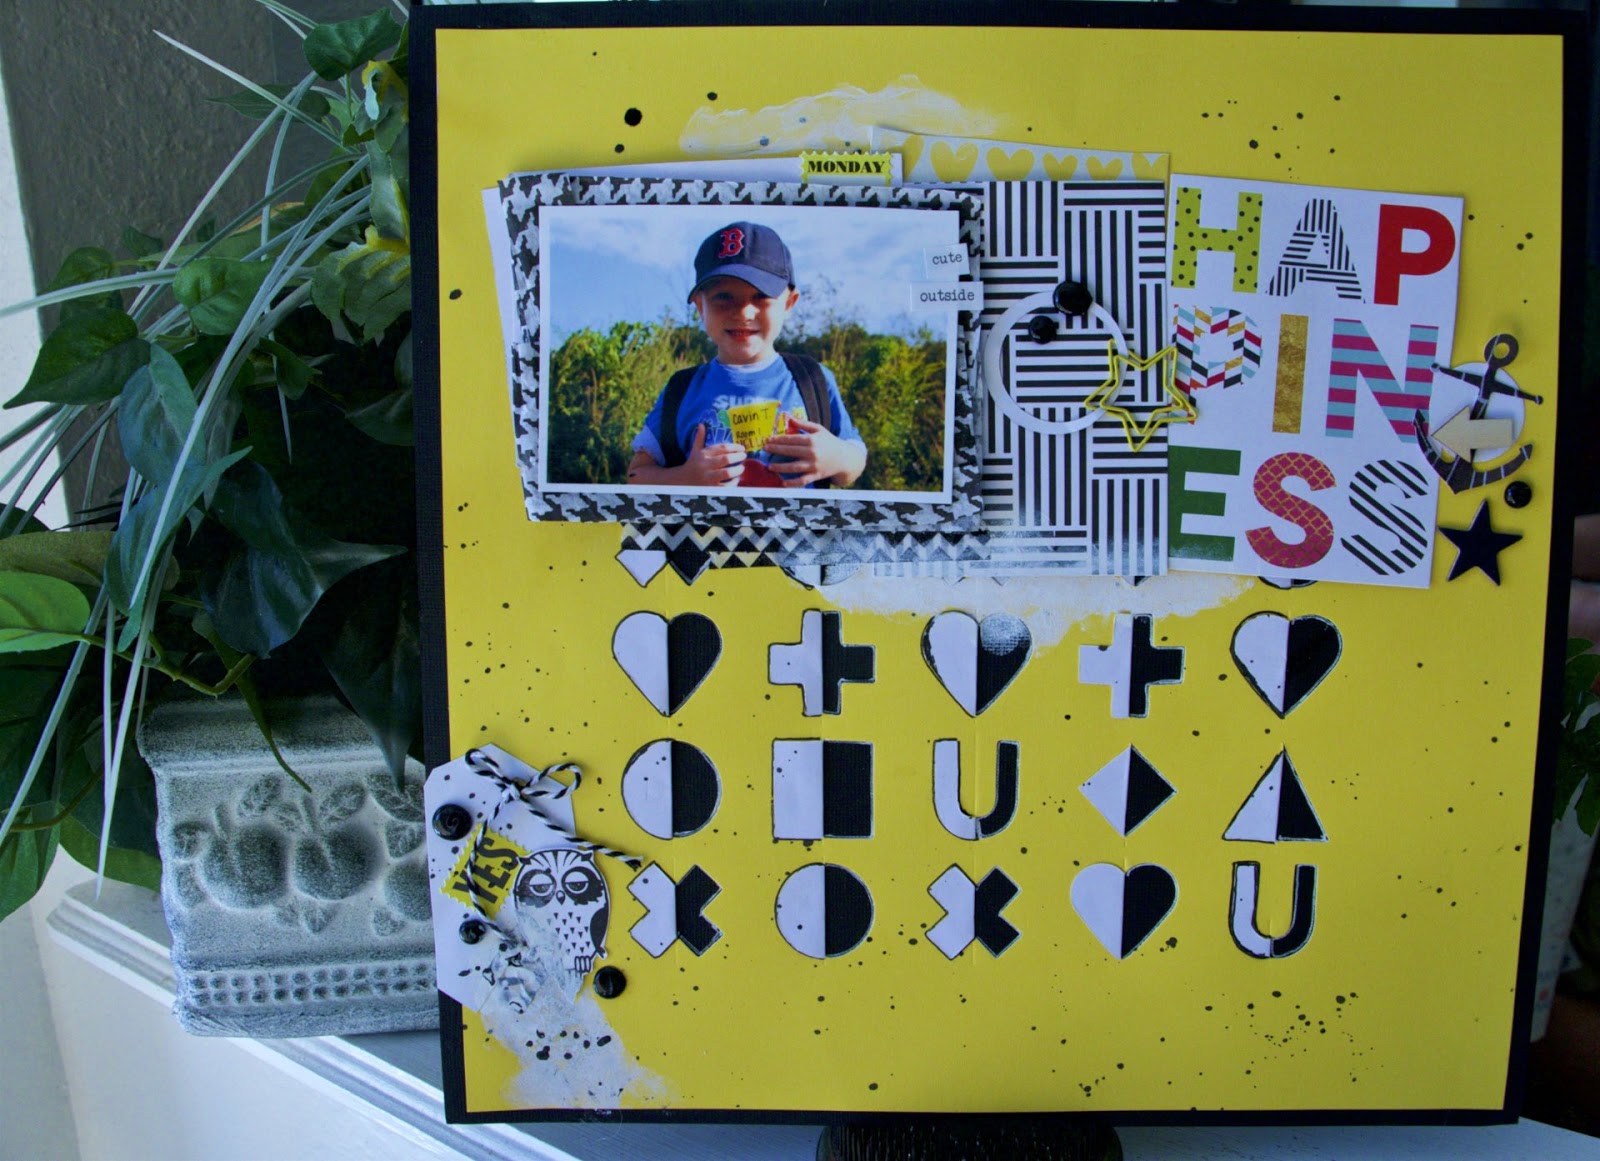
First thing I did was back the yellow to the black because 
those colors really rock and then glue the
cutouts back.
Then I traced with white/black pens and splattered some mist.
And wow did I go wild or what.
I added some gesso and white paint to cover up a few ooppssies.
 I started out with another photo in mind but
it just didn't work as well, and this one
of Cavin happened to be laying on my desk and well
his yellow sticker just called my name.
And then layered that baby up.
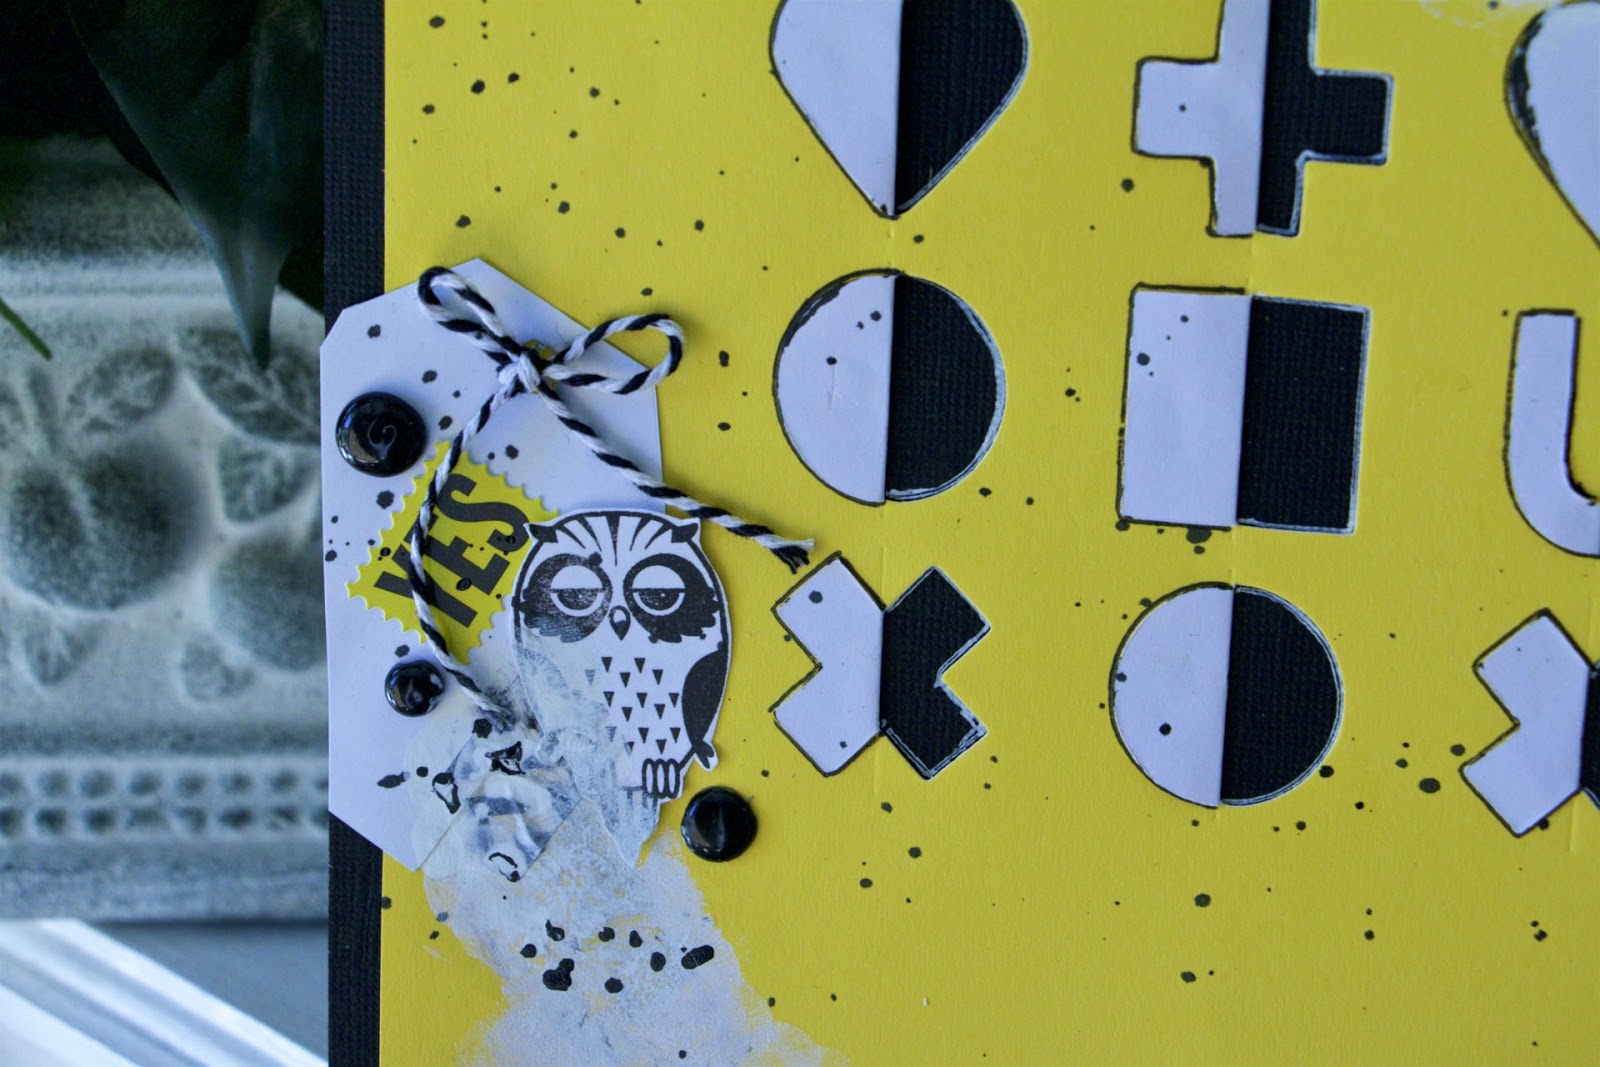
 Added the owl because I had a ton leftover and
a couple of do-dads and decided I liked it.
Cards are MAMBI, houndstooth tissue Paper Issues.


Tuesday, March 10, 2015

Taking my devotions to the next level

If you have not yet found Shanna Noel at Illustrated Faith.com, you need
to check it out. I found her by following Amy Tangerine
another talented scrapper, both on many design teams.

Shanna and her team takes devotions and Bible studies 
to a whole new level in using their  "journaling Bible".
I had no idea journaling Bibles even existed - I just wrote in the
itty bitty margins hesitantly or an everyday spiral bound notebook.
Not a whole lot of creative juice going on there.
Although if you guys think about it - you know from previous posts
that I have issues ripping out pages from an 
out of date dictionary so to actually do something in a Bible
wouldn't even cross my mind.
Until now.
Please check out the illustrated faith blog because they can explain
it way better than I can since I have only progressed
to the point of getting the cover done.

So I purchased the NIV journaling Bible - it also comes in ESV version
however, I have mostly used NIV so I stuck with that.
The difference is there are lines in NIV for journaling and on in ESV.
I ordered it from Amazon and danced around for weeks
waiting for it to arrive.

Once I had it clutched in my grubby little mitts,
and after days of waiting for the inspiration and guts to start, last night
 I daintily began to spread some gesso on the front cover.
My thoughts were to keep the cover minimal
so that it wouldn't get too torn and trashed.
I also had the mindset that if I really screwed it up with the paints
 I could cover it up with paper. 
Plan A and Plan B.
 I then spread some watercolors on and after letting it sit overnight
decided that they were a bit bold.
 I became braver and added some white enamel paint to mute
the colors and decided that doing the entire front
looked better than just a colorful blob
in the middle of page.
 As you may have noticed in the past I have trouble stopping,
so adopting a somewhat cautious mindset
I decided to stop here because I can still see the
polka dots, which I like, and the colors seemed somewhat less wild.
 I broke out my Technique Tuesday stamps - that I had forever
and they had a goofy unused quality to them.
In fact, my "g" fell apart. Sigh.
I went with stamps because as you know, my handwriting caves
under pressure - and the pressure would be unbearable.
Although if you peek at the top I did feel brave enough to actually
write the verse there.
I will be using them a bit more - love the fonts I have on hand. However,
when I purchased them years ago I was in my
eecummings phase - where I wasn't using capital letters.
I did find one set that thankfully was all caps because 
I didn't feel right using a lower case "g" for God. 
I kept the cover simple because I'm brave that way.
I picked this verse because I loved singing it in church for the Offertory and 
it just seems right for the start of devotions.

As I progress, which is being even more brave, as I actually 
pu my thoughts creatively on the inside pages.

Thursday, November 20, 2014

Watercolors, stamps and embossing powder

I didn't think of taking a photo of the paper until
you guessed it after I mussed it up some.
Its a 12x12 of a photograph of trees.
A forest of trees.
I wanted to make a "home" for a photo and embellishments
so I laid down some gesso and watercolors.
I added the dotted stamp with black ink and then brought
out the distressed embossing powder.
 I tend to forget about embossing powder - it does add a cool layer.
I also got to use my new tree die cut from Spellbinders.
Again its gotta lot of intricacy going on so I used wax paper in 
order to get the die out without losing limbs or leaves.
I also heard a suggestion that dryer sheets work too - I'll try it next time
and give you an updated. Unless you already tried it.
Then let me know.
 Scattered the trees about and then layered up with
goodies from the Paper Issues Swag Bag - from different months.
Love the tree with the banners.
  I did put the page and colors together with no photo in mind.
And then I had to make a custom size because silly me
I glued down those striped banners.
Therefore, the photo size is 3x1.75.
Which is a good thing because it was a small photo and
anything bigger would be really blurry and pixilated because
its a digital photo of the original.

I think it works rather well with a heritage photo.
That is a photo of my great great grandmother Mathilda Anderson
and my grandpop (her grandson) Bill Schneider.
I did the journaling between the embossed dots at the top and
I only know the players in the photo,
not a where (just guessing) nor a why.
Guessing the date is about 1920 - because grandpop looks about 20.
But I could be wrong.

Studio Calico, Paper Issues Swag Bag, Spellbinder die, Tim Holtz distress embossing powder.

Sunday, November 2, 2014

I think I'll stop here.....

It all started innocently enough with watercolors.
 And splatters.
Then along came some stamps and gesso
adding more and more layers.
And another tag bites the dust - only 3 remaining.
 And wa-la the background which came together nicely
as I didn't have a plan or picture in mind.
 So I started out with the photo over to the right on the smaller area.
And nothing worked.
It looked well.... stupid.
 Therefore, I shifted everything around and added a few more touches.
And does't that tag rock or what.
 Love the clusters and layers going on.
Lots more layers.
And then the hunt for the photo - I actually had 2 other photos in mind,
but they really didn't work with 
A. the tag
and, 
B. the design
I also felt black and white worked better.
And in this design.

Shimelle's line, Studio Calico and my tag.
And I think I'll stop here.

Sunday, October 26, 2014

Circled it!!!

and please feel free to use a singsong voice.
Kinda like when you say "nailed it."

Now that the important stuff is out of the way...
I cut and 8 inch circle because I was tired of being square. (Yunk yunk)
And I broke out the sewing machine.
If you look close I'm having issues with the stitching
and I've tried everything to fix it.
If you know HOW PLEASE put me out of my misery and tell me!!
 It started out not being gesso'd, watercolored or stamped.
And somewhere along the line, things started happening on their own.
I'm finding I love my diecut goody box - just to have little things
already at the tip of your fingers without having to:
a. figure what die.
b. drag out the die for a one time deal.
c. obsessing over the paper/color.
Because I'm not obsessed with any of things anymore.
It's rather freeing.

So What we have here is Studio Calico (natch) Paper Issues Swag Bag 
which are totally the bomb.

Love the little clusters and mom can just journal wherever she wants.

Wednesday, August 13, 2014

Whitewashing with gesso

I actually began this page with no direction in mind.
Shocking I know.
I did have a photo though - a very artistic type photo.
I grabbed my Basic Grey and began
by laying down some 3MScotch washi tape - I know.
 It was quite bright so I decided that some whitewashing would mute it a bit.
And it worked.
 Went to the stash BG sent me from the warehouse purchase and ba-zinga...
(I miss Sheldon).
I located quite a few stickers that would work on the page
and began laying them down as well.
 So as usual I got into the spirit of the thing and with a couple of interruptions
we'll be going straight from here to the finished product.
Surprise!!!
I seriously love how it turned out. 
And it works so well with the photo of little Lou.
I'm jealous actually - I'd love to take cool pix like that.

All BG except for Bella Blvd & October Afternoon alphas,
Evalicious (my new favorite) and Cloud 9 buttons and Scotch 3M washi.

I did post this over at Paper Issues and participated in their New Issue.
I am also going to follow them on blog lovin'.


Tuesday, July 8, 2014

Using an old and hardly used die cut

Guess which one is the die cut???
LOL!!
It's the MONKEY - I was in a giddy mood when day
and it was on sale at 2peas I believe.
Enough said.
Not many calls for monkeys on a page but
every now and then you can work that baby in.
Like now.
And googly eyes. More giddiness.
Monkeys on pattern paper - basic grey.
I used some gesso to simmer those monkeys down.
Punched out the banner and fussy cut
the tape the monkey is holding in his hand and embellishments
on the left side.
And also punched out the circles and music notes
making my own embellishments.
Very fun page.
Dad is a musician so this totally works.
Monkeyshines music man.
:)

Wednesday, June 25, 2014

Another PageRises out of a Lynnmade debacle

Remember this page on this post? Well it  basically chronicled the "I hate this evil stencil" debacle, pointing out that I pretty much create my own debacles. And wasn't I en pointe this week.
I know you were on the edge of your seat in anticipation of the next step in the chroncles of debacles.
 Well...........
I decided that in this case more was better and again, I broke out the watercolors and gesso and began layering on the colors. Amazing what some connectivity can do. I didn't think of doing that at the time because I was annoyed. Really annoyed. And being annoyed really doesn't help the creative process.
 And now I'm seriously annoyed I didn't think of this then.

Therefore, I stepped back.
 Took a breath and a brush.
And wa-la another heritage photo. 
I KNOW! me too.
Studio Calico paper (I really need to get a gig with them), basic grey and cosmo cricket pattern paper some Studio G stamps, and Creative Cafe buttons and chipboard. 
The ribbon was leftover from somewhere and the thickers came in the SC kit.
And office depot tags - I have a ton of them. 

And the adorable little girl is my mom.
She was quite the fashion queen.