After checking out some online tutorials about homemade
flair badges I decided to check it out for myself and relate my results.
I know you're excited.
I was.
Would you believe I had to buy a one-inch punch?
Isn't that crazy.
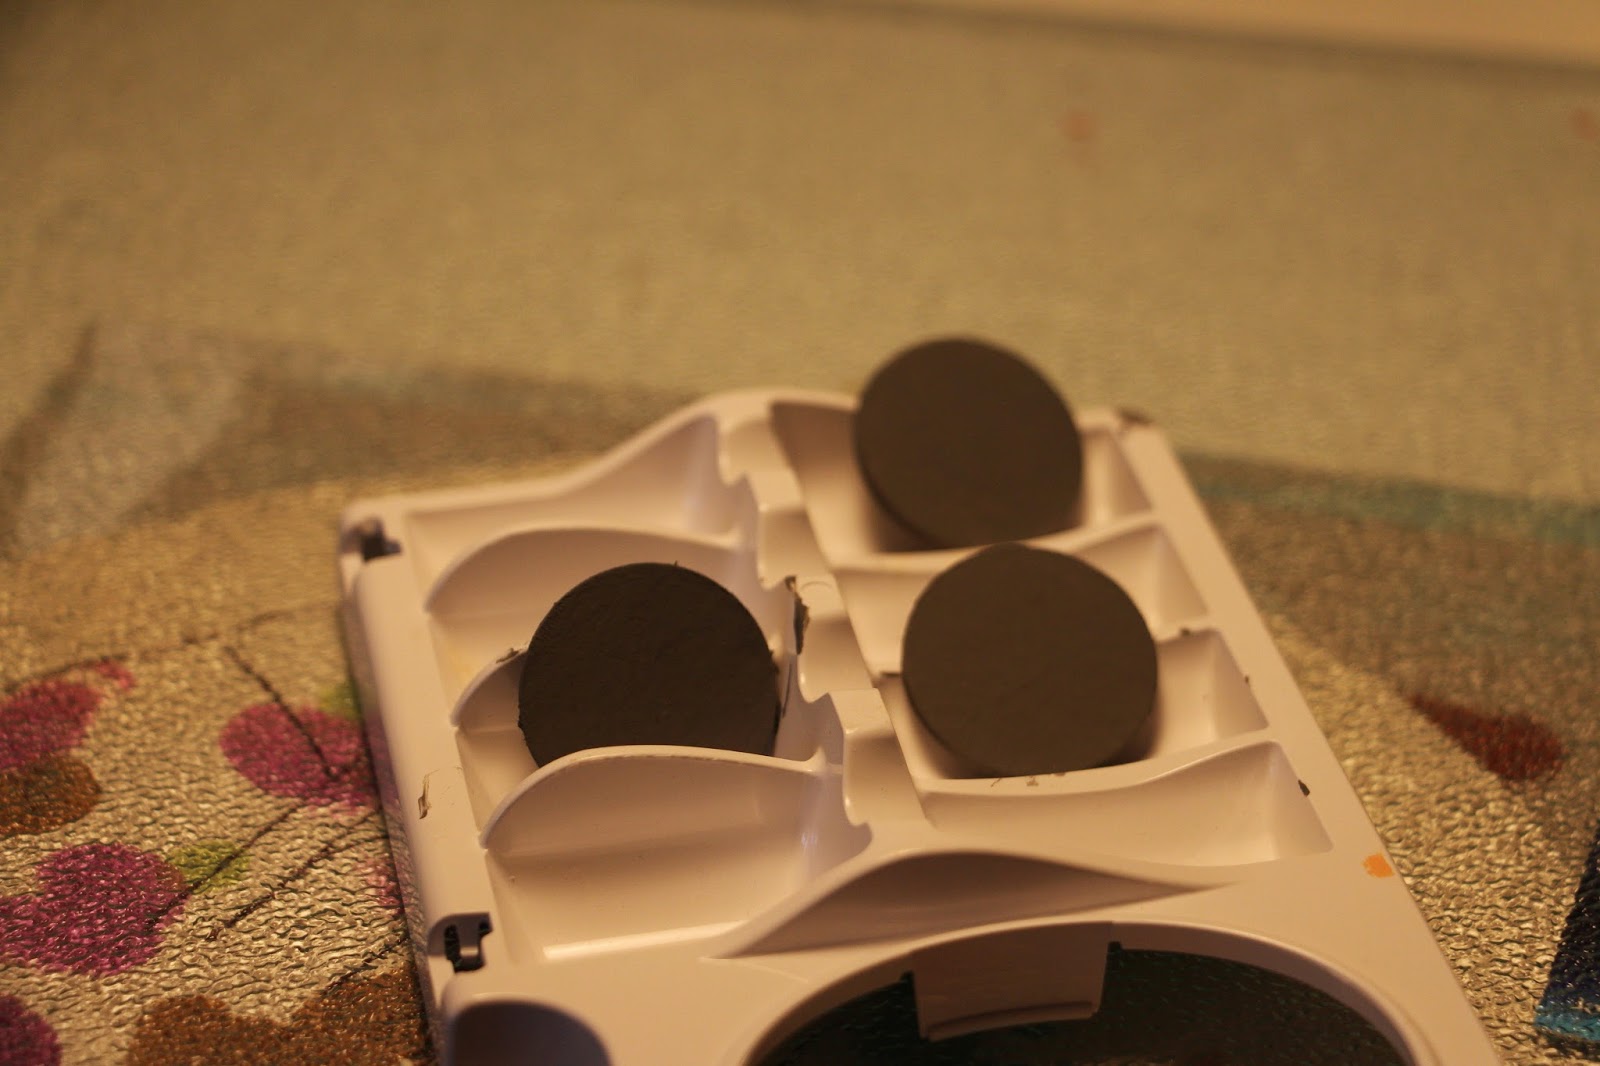
I used my brand new one-inch punch and punched out 9 circles from some chipboard.
It was pretty thick chipboard - as I use them for my baby albums and
I like them sturdy.
Glued 3 together to make the recommended thickness.
And then painted them gray.
As I made more due to some man-made disasters
I switched out to this less thick chipboard as the first one
was threatening to break my punch.
I also decided to not paint them this time and honestly,
I'm okay with the "rustic" chipboard look.
The less thicker chipboard with 3 glued still had the same thickness.
I purchased some one-inch epoxy stickers at Hobby Lobby
and I also had some glossy accents to test as well.
I stamped some designs on regular pattern paper and used some
watercolors to make them pretty.
Waited not so patiently for them to dry and added the expoxy sticker
and as you can see - it has the depth of a flair badge.
Below are my versions - I added die cuts, punched out labels too.
The one that says "its a girl" is glossy accent and really
you can't tell the difference.
The only fatal flaw is that you have to wait for it to dry.
Using a heat gun is disasterous and leaving it lay around can lead
to other types of catastrophes, such as laying stuff on top,
using a heat gun, and leaving your finger print as you poke it
to make sure its dry.
Just to name a few.
The glossy accent was my 3rd try.
Just sayin.......
Above are my homemade flairs.
I will give this another whirl as I have some
other ideas in mind.
And below in a not so pretty photo - showing my badges
against the real deal.
They turned out pretty good and its nice to have the ability
to customize them.
As you will see below on a page.
The themed ones from Avacado Arts called my name -
actually screamed heritage.
As you know I adore heritage.
The black, grey, gold are lovely colors together
and they became the inspiration for this page.
They are not as crisp as "real" flairs though the rustic-ness works well for this page.
Broke out my diecuts
And doesn't that photo make you swoon.
My great grandmother.
And the doily.
Love the daintiness it brings.
I love how the badges worked out on this page, they really added flair.
yunk yunk.
If you give this awhirl, please share the results
I'd love to see them.
My great grandmother -as a young woman.
I have no idea how young - so I'm guessing maybe 20.
Its hard to tell back then.