Showing posts with label tim holtz distress ink. Show all posts

Monday, July 24, 2023

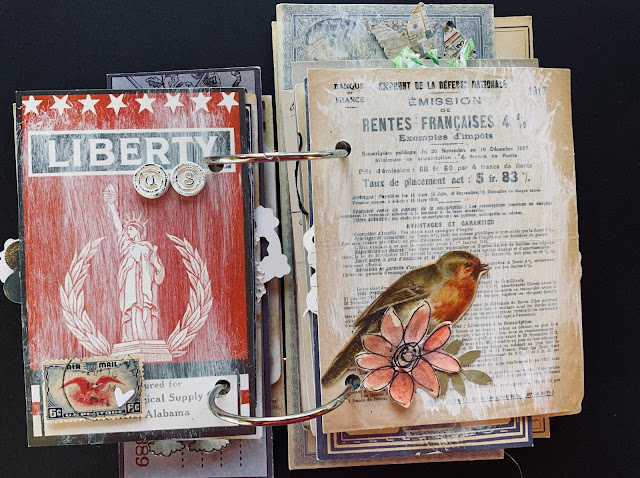
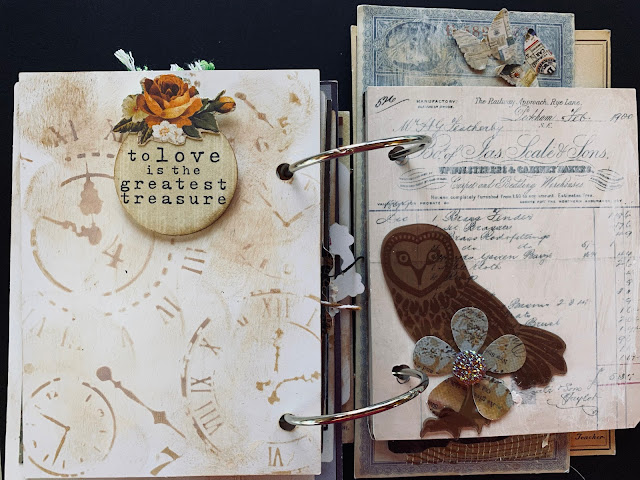
A Traveler's Notebook for extra pix

 I started this TN (I did the outside long time ago and it just laid about). So watching some vids on this I decided I needed a place for "reject" or "double" or "wrong sized" pictures to go because why waste them. So I'm putting them in this album AND I'm trying to do it without pop dots. I KNOW. So far so good but its early yet. 🤣 And it kind of turned into "mixed media" but I have to be careful because the paper is thin.

Working on doing things a bit different but
a style is a style.

I'm also not needing to do a bunch of journaling because
I have journaled these photo in my Travelogue album
and sometimes its just not needed.

When trying to not use pop dots which is seriously tough
for me as I love dimension, stamps and 
stencils can be a friend.

Working on my layering of stamps and stencils.


Sunday, January 30, 2022

There's a fine line between genius & crazy mini album - Made with Tim Holtz STUFF-mostly....

I don't normally order stuff on line but I was soooo
excited to get some TH stamps - called "Good Thoughts"
and there it is - one on the front cover.

In putting the album together, I picked out all the tags and
big stuff from one or two of his ephemera packs.

It laid around for awhile because I didn't know what I wanted to do.
In the meantime, since it was laying about - I took some
gesso and whitewashed the pages because they
needed to be mussed up a bit to hold stuff.


And it looked cool.


Once I got rolling it came together but I did have to remind
myself to not overthink things. 

Those stamps and envelops are from my Grandpop's collection
and it's soo cool that I have them throughout my 
albums.

I did use some of my handdrawn stuff and
a few other things that weren't gonna go anywhere else
found a home.

Love that pouch that my pal Holli die cut for me (I have 2 more)
which is a great spot for journaling or more photos.

I did leave some room for other embellies to join in 
because sometimes with titles you find you lack a photo to match.

Honestly I love this style and I used to do this shabby chic/ancestry look a lot.

Ii found it fun to match things up and they way things
are adhered, photos and such can be tucked under if necessary.

I also figured room for matting and I fussy cut the "love this" title from
an old project life card.

Fussy cutting and punches came in handy. 
I love the big finger pointing hand.

And that rooster, swoon.
Picked that stamp up from my LSS - and so far....yum.

I tried doing something on the back and it didn't quite work out
and my attempts at a cover up aren't 
working out either.

So I may need to resort in a heftier cover up. 
I'll keep ya posted.


Saturday, April 24, 2021

My new 6x8 Chipboard album

I decided that after doing Traveler's Notebooks
in a homemade chipboard album 
using rings I wanted to do something a bit different.
I LOVE them don't get me wrong but I have concerns.
There are no page protectors and because
it's on rings I was also concerned about storage.
Tossing them in a box and hoping for the best without proection
SOOOOO
hunting around there are 6x8 albums
(I know where have I been)
with page protectors.
So I found an album and it's chipboard which means
DECORATING.
So technically this is still a Traveler's Notebook.
So I gessoed the album which kind of gave me choices,
inks, oxides and alcohol, oh my.
In addition to paint. 
Therefore, I found a tag I liked that had these colors
on it and I really really really liked it.
Of course it's not EXACTLY the same but I 
love how it came out all the same.
Inside.

I used Rustic Wilderness-ink and Blue Lagoon and 
Pickled Raspberry Oxides.

Then I dithered about the rest of it and decided on
these awesome stamps that I used before
on an album.
Why yes, yes I'm a copy cat. LOL.

I used this stencil on the inside of the book along with some stamps.
Love how it turned out.
And the rest of the stamps.
I just love this and yeah it's been done a bazillion times.
But I love it.


Oh and the page protectors are on the project life size.
Pockets. 
So that'll be fun to do on this trip which is called
Over the COVID Tour
😂


Sunday, February 21, 2021

Just doodling around

I was up late one night and I bought these mixed media
art journals to mess around with different
kinds of inks, paints, crayons, stamping and also
use them for journaling without all the creative stuff in it
so I decided why not mess around and doodle.
So I grabbed a black pen and graphite pencil and just
started messing around.
Now, I seriously have no drawing skills. 
However, I found I can draw flowers so I started with that.
And then birds, a really bad copy of some
Dina Whakely's birds but none-the-less they came out
seriously not bad.
I also did the backgrounds, my fussy cut doodlings are on.
Not bad for an amature.
I love how they came out. 
I colored them in with distress crayons and honestly 
using them like watercolors made my drawings look pretty good.
Surprised me too.
Found more backgrounds I did with TH inks and Nuvo shimmer paints 
because I did a lot of doodling that needed a background.
So I laid all these out and didn't adhere them because I
was not sure I want to add to the backgrounds
so just to keep things interesting
 I opened the window, next to my desk, 
and everything blew everywhere
Good thing I took a couple of photos LOL.
It'll be fun putting them all back together.


Sunday, February 14, 2021

Valentine Tags

For the grands.
I used some watercolor paper because I knew I was going
too use inks to making and I wanted the
background to have texture, so whipping out a cool embossing die
I didn't know I had sent 10 tags on through.

Using a few distress inks using the smack and dab technique
that Tim Holtz teaches and uses.
It was a lot of fun actually, and normally I don't
heat dry the layers, but I did this time.
The background looks great.
 
Oh I added the pockets on the back to hold the $1
I took in - quite the big spender.
That was a total stash bust, but I love those envelopes
and have no clue where I got them or the brand.

Some punched and die cut hearts.
M's dinosaur stamp.


Thursday, February 4, 2021

Had a play with Nuvo shimmer powders and distress inks

Heard a lot about the Nuvo shimmer powders and
I broke down and bought 2 - blue blitz and golden sparkler
and I loved how it turned it.
I felt it needs another color so I popped in some
distress ink - fired brick.
Just a touch.
It was so much fun to use the powders I went back
to my LSS and bought all she had.
I found out later I did miss a color so I need another
trip back LOL.
I also broke out the distress inks
and didn't write down the colors but
it was a fun play spraying,
using the packaging technique
and just splattering ink about.
Love how they turned out and these will
be used for tags, die cuts and stamping.
I also bought Oliver and love how he
pops off the blues, greens and purples.
You'll be seeing more of him.
Oliver wasn't so bad to put together.
Lots of moving parts and layers are the fun of it.
Also can drive one batty too.
LOL.
Love how he pops off the background.


Sunday, January 17, 2021

Travelers Notebook - Concertina fold

Technically, it's Adele's (Inky Quills) fault because I
have watched her whip these folds up a few times.
Effortlessly.
Therefore, I thought why not give it awhirl.
How hard can it be.
Well....
It's tricky especially if one's fingers aren't real nimble.
Also, I used wet glue and couldn't figure
out which side the clue should go.
I'll watch the vid again.
I double backed this page because the front looked
weird to me. 
Not quite as um uniform shall we say.
Anyway, using the colors from the tissue paper
more or less, I die cut the and punched
the flowers. Buttons galore on the buttons
and sequins. .
And the canning jar just was soooo neat.
I stamped it in grey on mixed media paper and
thought I would stamp flowers on it.
And for some reason I fail to remember, it didn't work.
You can see the stems down there soooo
I added some butterflies and a saying.
I am really happy with that.
It surprised me.

So what to do with the back side of the concertina fold and
not be too much of a copy cat because I love
that flower page.
Anyway some TH to the rescue (which caused me to sort
a bunch of stuff out - because I thought tossing
everything together in one big bin
was a good idea) and found some really fun
ephemera to work in.
But first, I created that background page from Dristress Inks,
assorted stamps in the background. 
That was a lot of fun to do...
And the sentiment is sooooo true.

I love doing filler pages and it's been especially fun since
I quite worrying about storage and space.


Monday, June 3, 2019

Traveler's Notebook - Yosemite part 2

I couldn't just have lame photos of Tom and I
when there are soooo many pretty scenes
in the park to behold.
Plus I bought the Yosemite stickers at the ranger station
and 2 came in the pack.
So of course they both had to be used.
When I purchased the MS punch I also picked
up a Tim Holtz stencil and stamp set.
You will be seeing a lot of this set.
Just sayin......
Using the new set along with TH distress ink
stormy sky, peeled paint and faded jeans.
It sortof, well okay, it did end up more or less 
monochromatic.
I'm down with that AND I got to use
some Pinkfresh wooden embellies, and momenta 
wooden stickers. 
And the adorable big eared bunny is Technique Tuesday.
And the cute stamp in blue in Studio Calico.

Wednesday, October 25, 2017

Fun birthday page

Using ledger paper from Studio Calico.
I love ledger paper.
Did some background stamping using a block
dot stamp and TH distress inks - spiced marmalade
and peeled paint. 
 Also used stars stamp from a SC pack with black ink
and I don't remember the MFG on the birthday candles and "presents".
There's some old Basic Grey in there too.
Owen turned  9 - this past September.
That went really fast and it wouldn't hurt my feelings
if all the grands slowed this down a bit.

Wednesday, May 25, 2016

Banners and mixed media

I am really on a mixed media roll this week, here I
used molding paste and paint for the "stars" and
ink and stencils for the dots.
Of course the packaging technique came into play using
green and orange mists because I felt the brown and grey were too dull.
These are the photos I had in mind for Monday's page
that just didn't quite work out.
 For some reason I only mixed media half the page and felt the
bottom looked really plain - even with 3 photos so.....
banners. A mix of triangle and fishtail.
 I did get inspiration by watching a ton of Missy Whidden's videos.
I've been binging on videos since I got home.
She uses different mats for each photo.
I found I like that.
I did use a quite obvious title but hey
sometimes you just gotta roll
with it.
Studio Calico, Basic Grey, Paper Issues,
Tim Holtz and Crafters Workshop stencils.

Sunday, August 10, 2014

Cutting background paper

Can be a tricky thing.
For instance, that compass you can barely see was
painstakingly measured and cut so that it would be a prominent
feature on this 8x8 page.
You can see how well that worked out.
However, I'm not going to stress out about it
because - well the page actually worked out without it.
Shocking.
This is very old Creative Imaginations pirate paper.
Had to dig for it.
"Twas worth the effort because don't those two cutie pies
look like pirates which I'm not sure was intentional.
Some old Tim Holtz grungeboard - sadly I used up all but one
skull and crossbones and that on remaining one
was way too big for the page which is okay
because I am already obvious enough.
Thickers and an anchor exuberantly punched by my friend Holli
finish the whole pirate/boat/yo ho thing.