Wednesday, December 30, 2020

Tag booklet complete - the backside

I finished this baby fast.
You can see the start and additions of the booklete here and here.
I was making the tags and the majority are mixed media
and therefore, a lot of bleeding going on the backside.
Therefore, a solution was required more or less.
I was still out on the fence because mixed media is supposed
to messy, however.
There's messy cool and messy messy.
So my pals Holli and Brooke convinced me that maybe the
backside needed some cover.
(as if a normal scrapper couldn't figure that one out)
LOL.
I could've covered with mixed media and/or plain ole
pattern paper.
Where's the fun in that. 
So....I decided that embellishing would be 
great fun and it was.

Not necessarily in any particular order because blogger
is a pain in the ass about that.
Heaven forbid they actually upload in the order
I went to great pains to do.
But I digress.....It turned out to be a lot of fun
and I did all the pages in one night
and doesn't that prove the fun.

Using a bit of this and that from PebblesWoodland Forest.
That paper bad is soooo cool and I felt it
complimented the mixed media I was using on
the tags.


Got to use a lot of stash.

I think the deer is Bo Bunny but I can't swear to it.
I have a bad habit of tossing packages and
tossing everything into one tub.
Sadly, my head is like I can remember it and
my memory is like - yeah no.

It was a great play and I got brave and started
splatting some mists and nuvo around.
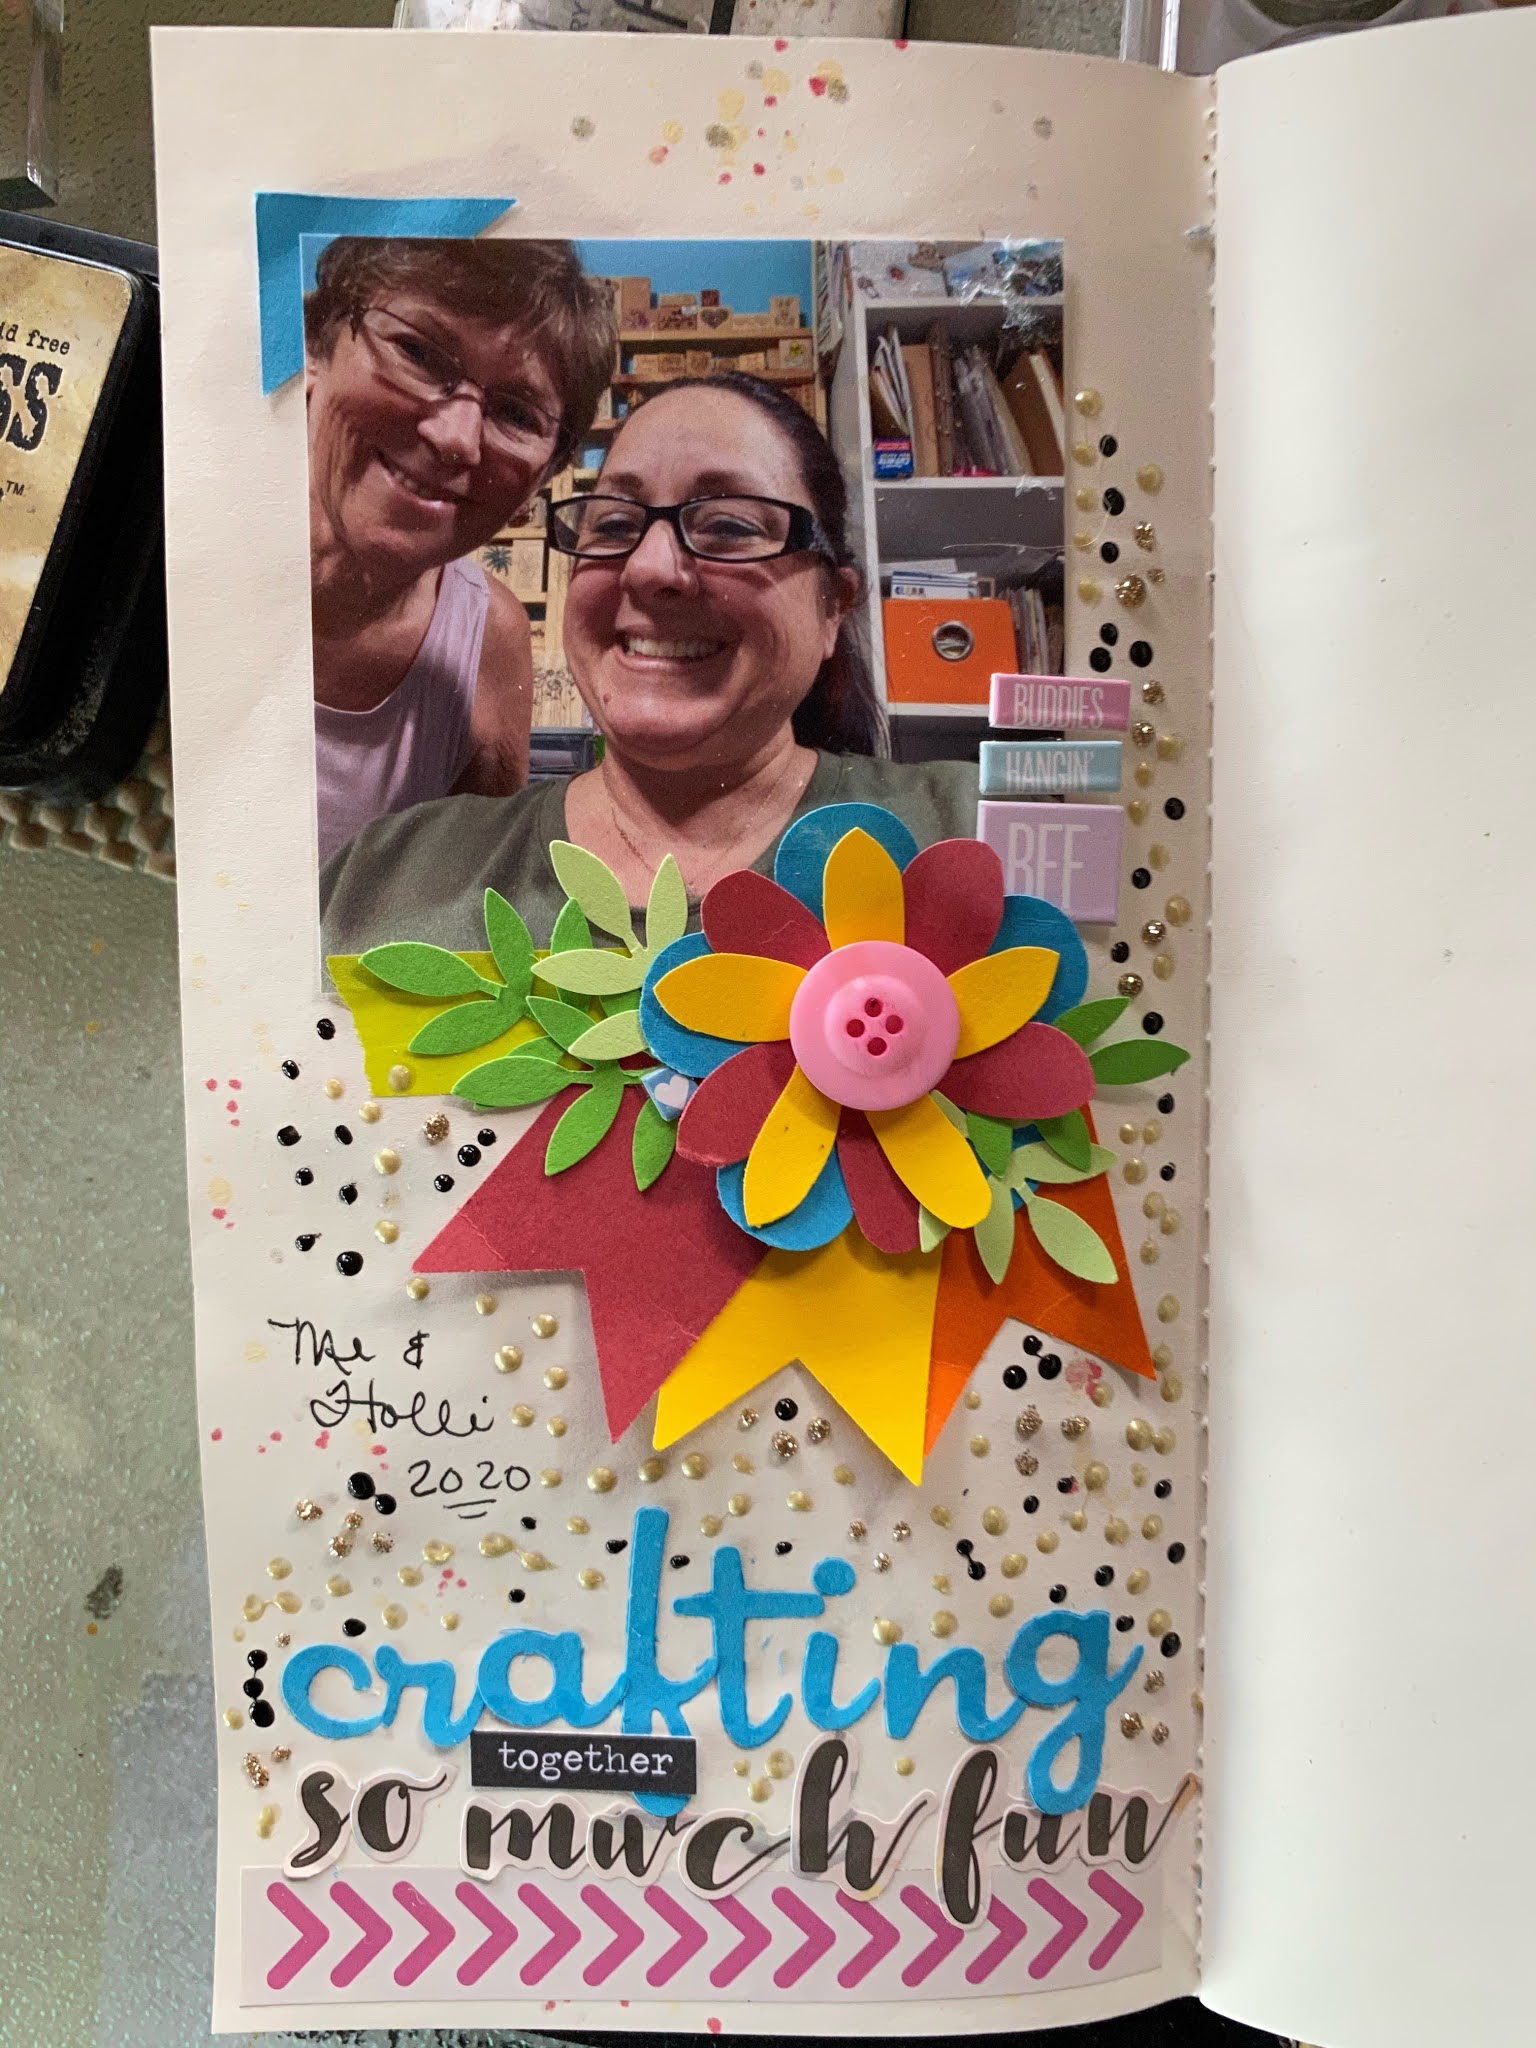
I love that lady - it's TH - a stamp and die.

OOOOO and I love those fauna and flowers
and decided that the bold colors
would be rather pretty.
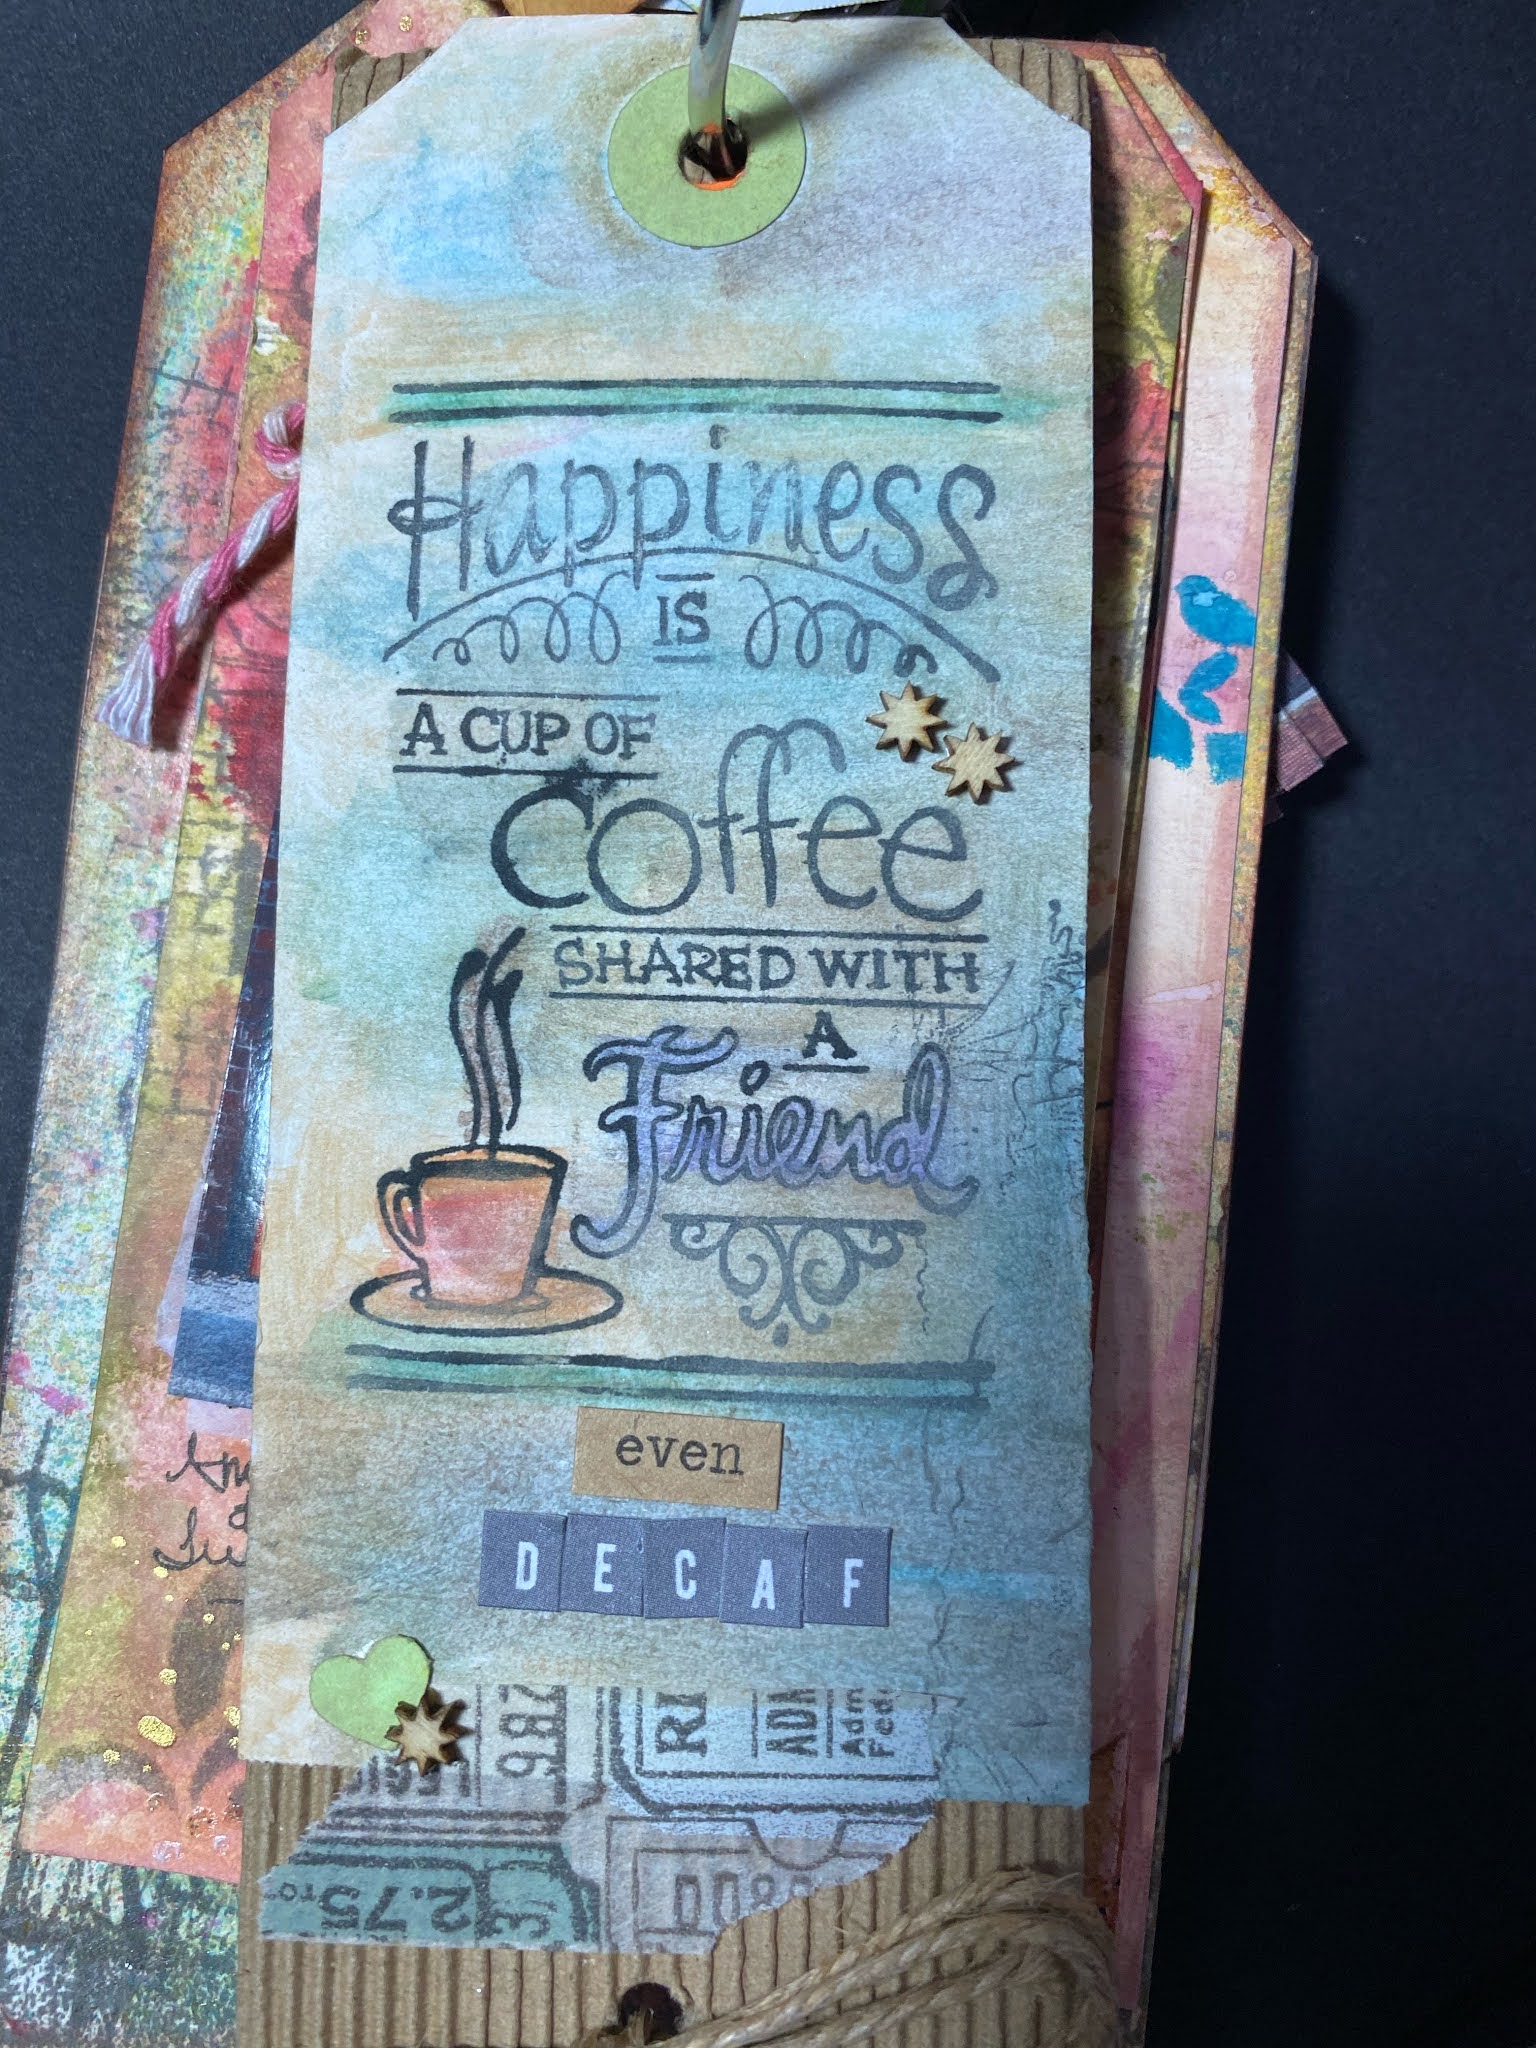
I love that sentiment.


Love the Christmas cheer and I think I 
need to add a few splats as I look
at this photo.

I got to use some washi tape.
I have issues with using it - it just doesn't look right
when I plop it down.
This actually worked out.

Love my tag booklet and I'll be making a few more.
For some reason I flung out a lot of creativity
that I would normally stifle on other projects
because I have a set thing in my head
that screams you can't do that.
Well I did it.
And I'm gonna do it again.

Happy New Year!


Sunday, December 27, 2020

Can one use too much stickles and nuvo dots


Yes
Maybe???
NOOOOOO!

It started out innocently enough but the above page
looked a bit too plain, and we can't have that so
- it needed that
something-something.
Well I have an assortment of stickles and nuvo dots.
And it just sort of happened and
quickly went out of control.
I would stop and look and then..........
it just needed more.
Therefore, if it needs more - do more.
LOL.
It was fun to do.
I do love the colors of the punched flowers and leaves
and I even handwhacked up the red and
yellow flowers (I know)!!!
I do love the layering its fun and love
the buttons. In hindsight,
looking at the colors I probably should've
re-thought that combo....nah!
I have a "regular" travelers notebook
that I'm using to do goofy,
different,
out of control pages 
because why not.
A place to explore different, anything goes even
if anything doesn't go.
This one pretty much doesn't go but I really like
it because it was fun to do.
Yes, I did use this photo before and it was perfect 
to use and play around on this page.

Remember NO RULES in scrapbooking.
If there are I believe I broke them all. 
LOL.


Tuesday, December 22, 2020

Tags for my Tag booklet....

I love creating these tags and this booklet.
It's almost full.
Shocking I know!
It appears that it's mostly the grandkids and
they always take a great photo.
I love using the oxides to make the tags colorful
and different.
I have also loved using my die cuts. Since my pal
Holli picked up a sidekick for me and I find
I use my small dies a lot more than I used to.

And I can do layers.
I love layers.
I adore layers.
And who doesn't.

The santa appears to have run-a-muck with the beard thing
but I'm gonna let it go because well why not.
It's let's shall we say - funky and
works with the background.

I love the stamp for the coffee and my
darling sweet hubby LOVES his coffee - he roasts
our coffee and yes he does decaf for me.
That's true love.
We do have coffee twice a day (Tom more than one cup)
I sticked to 2 cups a day because it's not like
decaf revs me up - but I like the "having coffee."

Love this photo and it goes so well with backgrounds.
Remember that mesh stuff??? I have a few
colors left and I forget what it's called but it's cool or
it was back in the day.
I actually found that "dream" in my stash and have
no clue where it came from.
And the gear as a tag enforcer.
Love it.


Monday, December 21, 2020

Christmas cards

I love this stamp and it was so much fun to make these cards.
Ten of them.
Using Tim Holtz distressed crayons and diamond stickles
for the beard, etc. just made it all pop.
I forgot how much fun stickles are and what
they do for your page.
They had somewhat fell out of vogue and
since nothing I do is really in-style - I'm gonna use them more.
I used a Michaels "background" stamp and tore
the edges and distressed them.
The yellow I admit is a strange choice but it appears to work
and make ole Santa pop off the page.
Just need to stuff and mail.
Hopefully, on time.


Tuesday, December 15, 2020

Traveler's Notebook - Some new pages and Gertrude

As you can see I'm rocking the TH animal die cuts.
Meet Gertrude, you all know Theodore and Arthur.
I'm missing a lot of pieces on this one. 
I'll take it on one day and figure it out - but she would've
looked adorable with a Santa hat.
So this is a page of Holli and I rocking the s/b table
at her place - which is soooo much fun to "shop."
Anyway we try to get together as much as possible while I'm in town. 

Actually, we are bad at getting the photo in because we're too busy creating. The title is from a cutup Studio Calico project life card and some of them were cut a little too close but i worked. I drew those straight lines with a T-square. I know right.
This one was fun and using TH oxides and dies with bright colors was
made to celebrate our 23rd wedding anniversary.
However, did I think to take a picture on our anniversary when we
went out to dinner. Why no, no I didn't.
Therefore this was the next day.


So here's Theodore because I did so well with Arthur 🙄👀🥰

Love these dies but the layers make me totally nuts.
My first experience was with Arthur (click link) and 
it was annoying because I'm not real good at looking
at puzzles so it takes me awhile.
(Don't let me discourage you - but it's how I roll)
My amazing friend Holli gifted me both actually and even
though it makes me totally nuts I couldn't wait to use it. 
Because there are different colors for different parts I decided
to make TWO.
Because why not.
Well....I put them both together and managed to leave
out the same piece for both of them.
It goes on the snout - more or less.
It also looks like it was glued by a 3 year old.
Sheesh!

Ole Theo actually turned out really cute so now I just need to hone my gluing and layering skills.

Mounted on a piece of TH paper and I got to use
my dragon fly punch on a neon green card.

I hope this encouraging.
And the dog tag too was just fun and I love that mutt.


Tis the season for Christmas lights

So I'm sure you remember your parents driving you around just
to look at Christmas lights.
It is a tradition!
So,Yeah we inflicted that on our kids too.
LOL!
It was awesome back then and it's even more awesome now.
This is only part of the lights on this farm
as I was on the right side - I totally missed everything on left side
as there as a lot of gawking going on the right.
 ARCADIA FL 
rocking the Christmas lights.

ENJOY..........
Next time we go through I'm sitting on the left side......So stay tuned.


Wednesday, December 9, 2020

Making embellishments for a tag and a card

In exploring all the fun things one can do with paint, watercolors
and anything Tim Holtz (dyes, crayons, etc) I started
pages in a 7x9 album (check it out)
 using mixed media and then finding something
to do with said pages.
Some pages have photos and a layout was born, some pages
were of the "what was I thinking" concept.
Did I get a photo of this paper prior to whacking it up?
Nope.
However, here is a recreation after whacking it up. 
Notice the wonky circles.
I rock them.
Using a tiny corner, prior to totally whacking it up, 
I die cut some seashells and a tiny crab to use
for the adorable crab card I made using the
leftovers from my pal Hollie's cut file.
How stinkin' cute is that.

Oh and another sheet of premade watercolors was used
as the background.
When I looked again at the paper I pilfered the corner from
- I saw the circles
And thought what about those whacky round flowers
that are everywhere?
Of course can I cut competely round circles?
DOH.
Therefore, I sort of whacked out the circles and loved
them so much I freestyled the leaves and stems.
I KNOW!!!
I then thought "grass" was needed to I took regular scissors
and sliced the blades and mussed them up.
Love how it turned out.
Of course outlining was a must.
I am seriously challenged when it comes to drawing
of any kind so I am soooo jazzed at how
cute this turned out.

For my playdate at Holli's
I used mixed media paper from the Canson albums you
can get in the drawing section of M's or HL's.
I like that I am able to cut out tags any size I want... 
These two happened to be made the at the same time which
cleverly makes them look a lot alike.
I'm okay with that because they can look totally different
when mussed up more.
The tags below were made again at the play date because
I was able to "shop" Holli's endless supply of 
really cool stamps that I don't have
but love to have.
And if I don't like them as tags I can fussy cut them out or
cover them up. 
It all works.


Monday, December 7, 2020

A Tag booklet in the making....

I love making tags-especially with the TH
oxides and dyes.
The colors are yummy, therefore,
I shall have a very cool tag booklet.

Oh the bling, my friend Holli made that tassel because
she has the shears to do it.
I'm thinking I need a pair.
A tassel from M's and a TH gear is there somewhere.
I made the cover with some really thin chipboard I got
from HL (I wish it was thicker) however,
I am using watercolor papers for the covers and it's
quite thick so I adhered the watercolors to the chipboard
and it appears to be quite sturdy.
I have an assortment of stamps to add more
texture and fun.
I used grey because I wanted a "shadow" effect
but I'm thinking maybe the black next time.
I made blackeyed Susie a real long time ago (I think when the "seed" packet
thing was going on) and it's been in the
"please use me" side of the embellie bin forEVER and
decided it'll work pretty good in this booklet.
I will jazz it up a bit more at some point because one
can't have empty space.

This is an envelope which surprising opens at the bottom.
So I just stamped up the front and tucked
the flap in the bottom until I figure
out how to not have anything fall out besides
sealing it which defeats the whole read me purpose.

And some grands to put on tags.
Sometimes the picture just needs to be on a
funky cool tag instead of a page.

So this is fun as a pre-made tag that I can either leave as is
or wait for that perfect "something."

Granddaughter with her pal...
Those long legs - another fun tag that works perfectly together.
I need to find out how that was photoshopped
I love that photo.
That brown cardboard tag has been around for
an extremely long time and it's a cool addition for something.
This is the back and of course there are inside covers....
This is the inside cover of the front cover and of course
it wasn't till I put it all together that I realized
I had done it upside down.
Therfore, I covered everything up (mostly) 
stamped this big, really cool mermaid on it and added
that sentiment which I think is a great question.

Outside back cover which was really supposed the inside back cover.
Evidently, I flipped it over and the holes didn't match so.....
It's the back cover. 

I'll be adding more tags as I go.
I love working in different sizes and mediums and
I can't go too big, but I am pushing it.
LOL!
If I do it a little at a time will anyone notice?